Focus Stacking Landscape Scenes
Some scenes just beg to be sharp everywhere, but have too much depth to make that possible in a single shot.
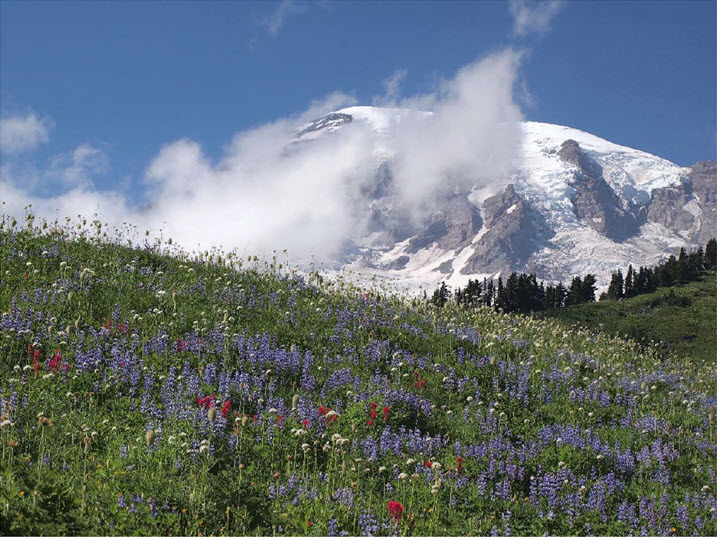
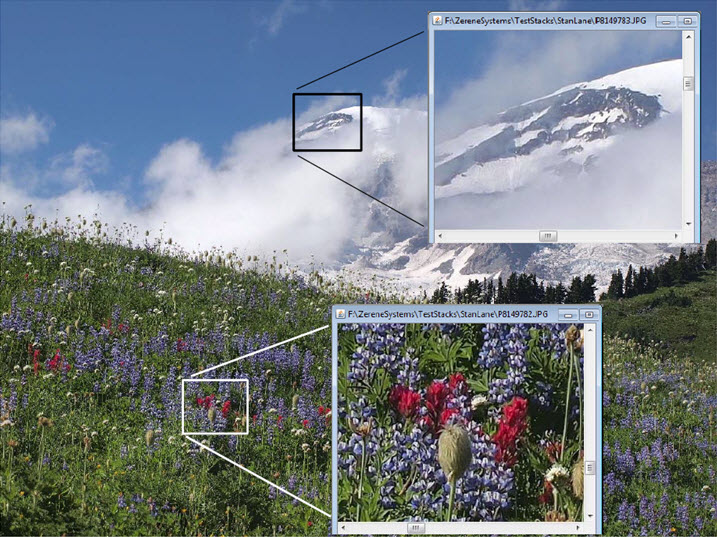
Here's an example:
At this size, you can appreciate the scene but you cannot tell whether everything is sharp or not.
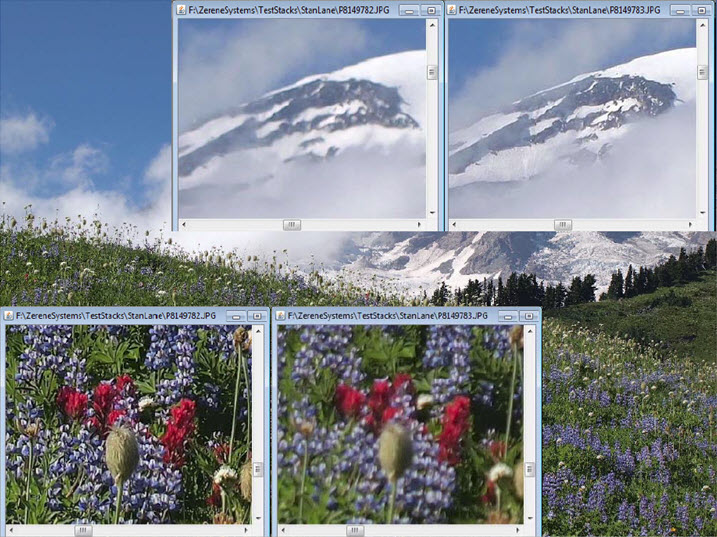
Let's zoom in closer so we can see how much detail is available at pixel level.
At this scale you see the problem. These pictures were taken with the lens set to its sharpest aperture. But there's not nearly enough depth of field at that aperture to cover both the foreground flowers and the background mountain.
Using classic one-shot photography, we face a painful choice. We could stop down to make everything about equally well focused, but then everything will go soft from diffraction. Or we could leave the aperture set on “sharp”, but then we have to choose what to keep sharp and what to let go blurred. Ouch.
With focus stacking, we can have the best of both worlds. Just put the camera on a tripod, shoot multiple exposures each focused to capture part of the scene sharply, then combine those shots to produce an image that is well focused everywhere.
That sounds simple enough, and sometimes it actually works out that way. But pretty often, something moves. In this scene, almost everything except the mountain is blowing in the wind.
Here's what we get on a first try of combining three images:
It's easy to see that the clouds were moving. That’s what produces the “stutter” or “ripple” effect. If we looked closer, we would see that the flowers were blowing around too. In places where there should be one flower, it looks like there are three — one from each of the source images.
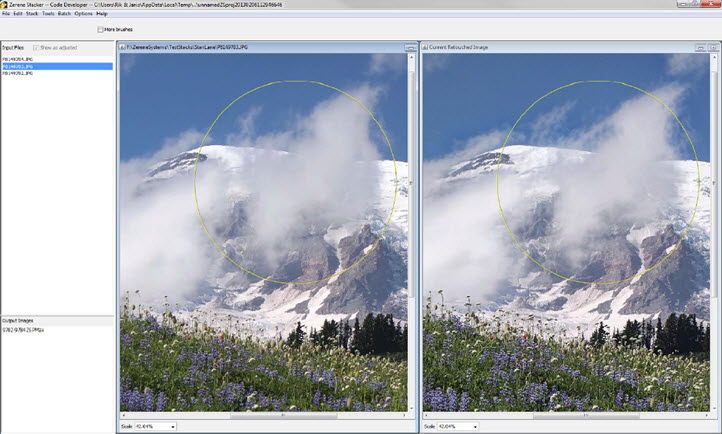
That's no huge problem. To solve it, we use the Retouching facility in Zerene Stacker to paint over motion artifacts, replacing those sections with pixel values from just one of the source images. As shown here, we've made the brush big so that it's quick to cover that big background area.
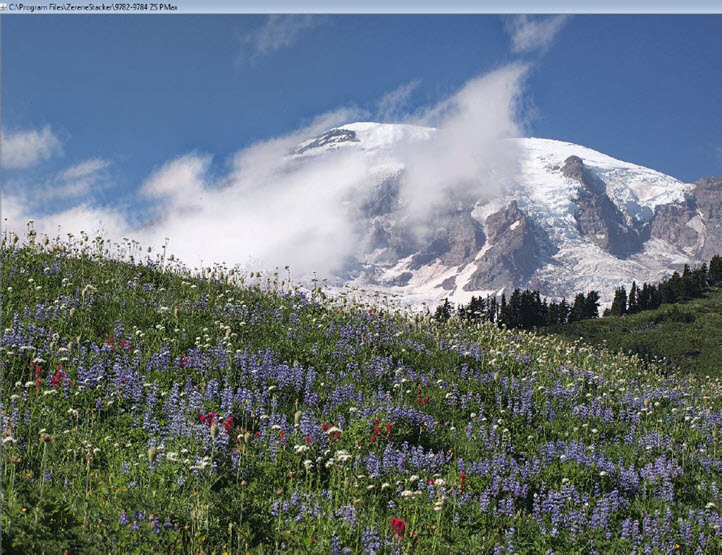
The result is a finished composite that is sharp everywhere.
There are a couple of other resources that will help in dealing with motion.
First, learn about the differences between PMax and DMap. There's a quick summary at "What is the difference between PMax and DMap?". In general, DMap is more tolerant of subject motion, though it may require adjusting a couple of parameters. That aspect is outlined at "How should I choose those DMap settings" and in more detail in the tutorial "How To Use DMap".
Second, learn how to detect & confirm subject motion in the first place. See for example "How Can I Detect Movement In My Stack?". Similar techniques can be used while you're in the process of retouching, as shown in the video tutorials "Introduction to Retouching" and "Advanced Retouching".
How Many Images Do I Need?
Sometimes people ask “How many images do I need, and where should they be focused?”
The answer depends on your lens settings and also on what your scene looks like and what effect you're trying to achieve.
At a minimum, you need to have each scene element you care about be sharp in at least one image.
Sometimes you can do that by focusing specifically on each element you care about.
Other times it's best to just methodically step focus from foreground to background, or vice versa. In that case, you might like to use a focus-stacking calculator like Lumariver's Depth Of Field. It's an smartphone app that interactively calculates focus distances based on your lens and scene. Alternatively, you can use the precomputed tables HERE to do essentially the same thing.
Enjoy!
