Using Stack Selected to Retouch Transparent Foreground
“Transparent foreground” is a common artifact that occurs because wide aperture lenses will “look around” opaque parts of your subject to see sharp details in the background behind them. This tutorial shows how to fix the problem relatively quickly and painlessly by using retouching in combination with Stack Selected.
This crop from the face of a small ant illustrates the problem.
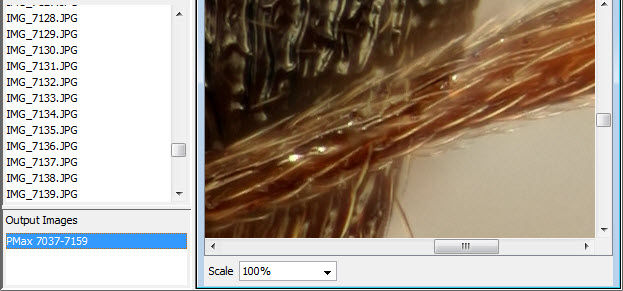
Here is the full stack result. It may not be immediately apparent that there's a problem, but we'll see in a moment that there really is.
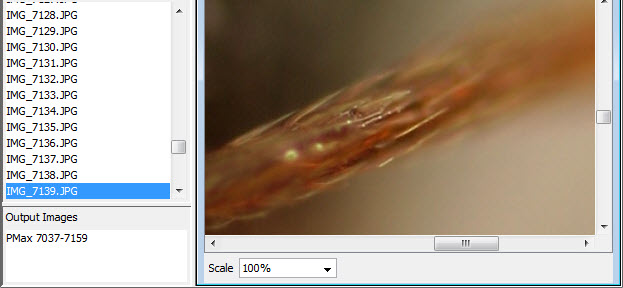
When we focus on just the antenna, of course we see just the antenna.
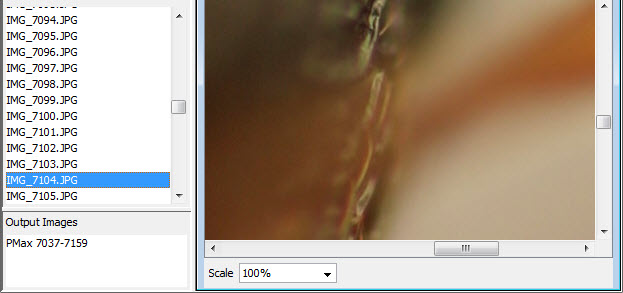
When we focus on the face farther back, we expect to see nothing behind the antenna, but in fact we do see quite a lot of detail there.
This is because near the edge of the antenna, roughly half the lens aperture can still see past the edge of the antenna to pick up detail from the face behind it.
When we process the full stack, details from both areas get shown in the final result, giving the impression that the antenna is partially transparent when it's really opaque. Here again is that full stack result.
It would be great if the software were smart enough to recognize that the antenna is opaque and just handle the problem correctly all by itself. But it's not, so we have to help get a clean result through retouching. You could retouch by brushing the antenna from individual source images, but that gets incredibly tedious. There's a better way!
The better way is to use “Stack Selected” to generate stacked output for just those input frames that have the antenna in focus, then retouch using the Stack Selected output as a source for brushing. That way we get to retouch from just one image using a big brush, instead of having to paint small details from each of the twenty or so source images that have different parts of the antenna in sharp focus.
Here's how the process goes…
First we process the entire stack using Stack > Align & Stack All (PMax). Looking closely at the result reveals the problem, as shown above.
Then we study the source images to figure out which ones have just the foreground in focus. In this case, those are IMG_7129 through IMG_7147.
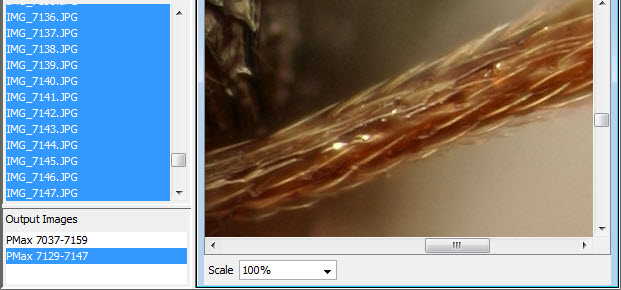
We select all source images in that range by using mouseclick and shift-mouseclick within the list of Input Files, so that all files from IMG_7129 through IMG_7147 are highlighted blue in the list.
Then we use Stack > Stack Selected (PMax) to make a stacked output from just those images. This produces a new output file that has a clean rendering of the antenna.
Now that we have a clean rendering of the antenna, we're ready to start retouching.
Click to highlight the full-stack output image, then Edit > Start Retouching.
Now that we're retouching, click to highlight the Stack Selected output, so that it becomes selected as a source image for retouching.
Increase the brush size to cover pretty much the whole width of the antenna, and stroke over it to get rid of the background detail.
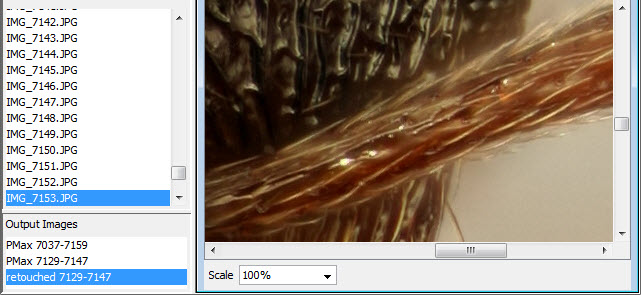
Edit > Commit Retouching, and we have a new output image with the transparent foreground problem corrected.
Of course this method is not a panacea for all cases of transparent foreground. With more complicated subjects, you may have to generate and retouch from several Stack Selected output images. In extreme cases, it may be just as easy to retouch from individual source images. But often Stack Selected can save you a lot of time and trouble.
Give it a try!
