Table of Contents
Using ControlMyNikon To Step Focus
ControlMyNikon is a inexpensive piece of 3rd party software that can automatically control your Nikon camera from a Windows computer to shoot a focus stack. ControlMyNikon comes with a comprehensive set of video tutorials, but it can take quite a while to watch those and pick out the few bits you really need to get started. This tutorial is intended to be a quick-start guide for new users of ControlMyNikon v2.9.
Just The Recipe
In brief, here's what you do:
- Download and install ControlMyNikon.
- Set the camera lens to Automatic focus mode.
- Set the camera body to Automatic focus mode also.
- Connect camera to computer with a USB cable and turn it on.
- If Windows offers to run other programs, hit Cancel.
- Launch ControlMyNikon.
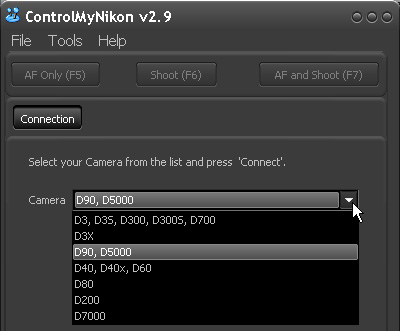
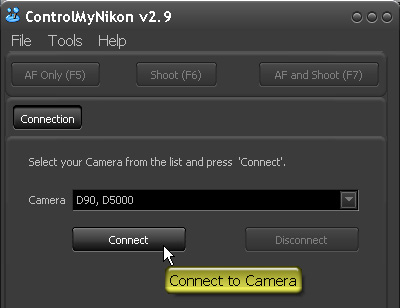
- Select your camera and press Connect. (5 new buttons will appear, labeled Capture, Live View, Settings, Profiles, and Scripts. These buttons open new panels of settings.)
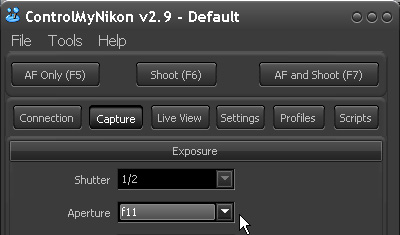
- Press the Capture button and select Shutter, Aperture, etc.
- Press the Settings button and select image format to be JPEG or RAW+JPEG.
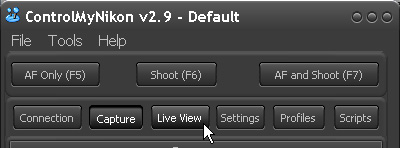
- Press the Live View button. (Camera goes into Live View mode.)
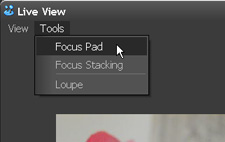
- In the Live View panel, select Tools > Focus Pad. (Focus Pad panel opens.)
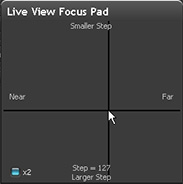
- In the Focus Pad panel, press and drag to control focus of the lens. (Focus changes appear in Live View panel.)
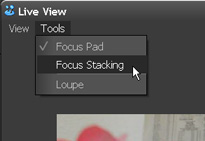
- In the Live View panel, select Tools > Focus Stacking. (Focus Stacking panel opens.)
- In the Focus Stacking Panel, set the number of Slices and the number of lens focus steps per slice (“Step”). (100 steps and 10 slices are good values for a first experience.)
- In the Live View panel, set focus to be the nearest point you want focused.
- In the Focus Stacking Panel, press the Capture button. Then sit back and watch while ControlMyNikon and your camera shoot the stack.
- After shooting is complete, your stack of images will be found in a folder named something like STACK_timestamp within
My Documents\ControlMyNikon v2.9\Images .
The Illustrated Cookbook
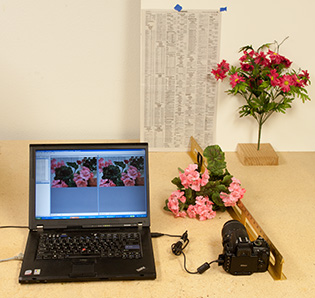
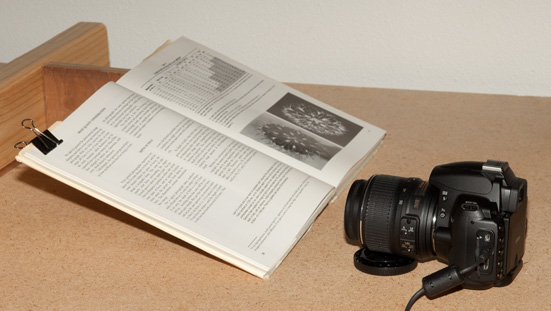
Here is the setup we'll be working with, as seen from front and above:
Now, spelling out the steps in more detail…
- Download and install ControlMyNikon.
- Set the camera lens to Automatic focus mode.
- Connect camera to computer with a USB cable and turn it on.
- If Windows offers to run other programs, hit Cancel.
- Launch ControlMyNikon.
- Select your camera and press Connect.
- Press the Capture button and select Shutter, Aperture, etc.
- Press the Settings button and select image format to be JPEG or RAW+JPEG.
- Press the Live View button. (Camera goes into Live View mode.)
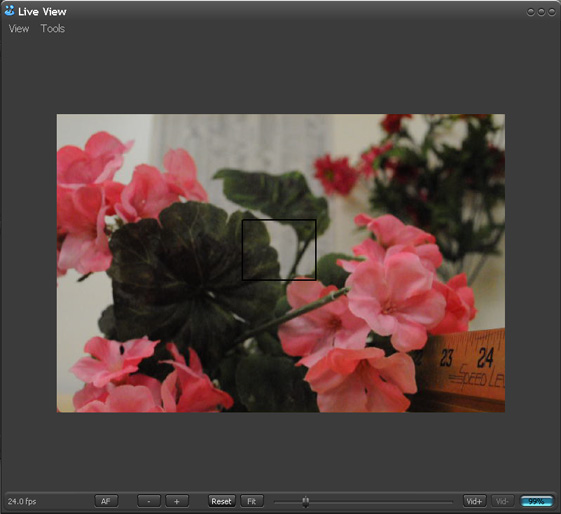
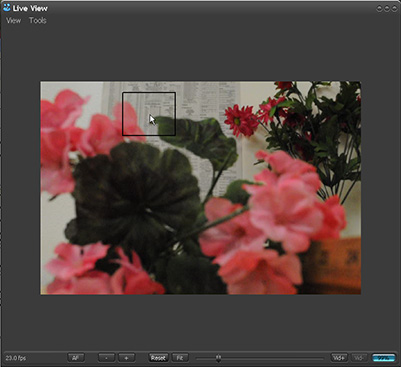
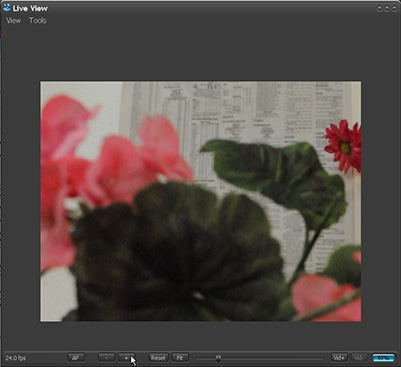
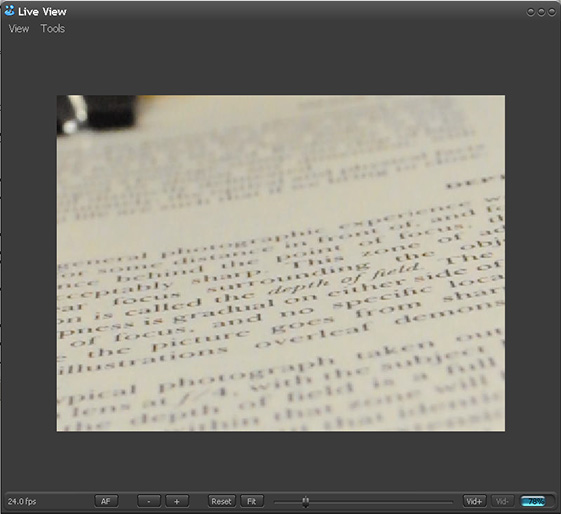
When the Live View panel opens, it will show what the camera is currently seeing. Within the Live View panel, you can repeatedly press the + button to zoom in on center of the indicated rectangle, press the - button to zoom out, or press the Reset button to zoom all the way out in one click. When the panel is zoomed all the way out so that the rectangle is showing, you can double-click within the image to set a new center for the rectangle.
- In the Live View panel, select Tools > Focus Pad. (Focus Pad panel opens.)
- In the Focus Pad panel, press and drag to control focus of the lens. The way this works is that press-and-drag in the middle of the pad will center the crosshairs on the cursor and attach the lens focus ring to the cursor. Moving the cursor left will focus closer, right will focus farther. The speed of focusing depends on the Step size as shown at the bottom of the Focus Pad. This number can be controlled by dragging the mouse up and down. When the crosshairs are near the top of the Focus Pad, the steps are small and you have fine control over focus. When the crosshairs are near the bottom of the Focus Pad, the steps are large and you have coarse control. (Note: just clicking the mouse in the middle of the Focus Pad may not bring the crosshairs to the cursor; you have to also drag a little bit.) The keyboard left/right arrow keys also move the focus ring, and the up/down arrow keys change the step size. You can watch the focus ring on the lens move while you are doing these things.
- In the Live View panel, select Tools > Focus Stacking. (Focus Stacking panel opens.)
- In the Focus Stacking Panel, set the number of Slices and the number of lens focus steps per slice (“Step”). You make these adjustments by using the little up/down buttons next to each numeric field to set the Step, Slices, and Delay to the values that you want. (Note: you cannot type into these fields, or use the up/down keyboard keys. Pressing the little up/down buttons seems to be the only input that works. You can press-and-hold to make the values scroll pretty quickly.) At this point we're assuming that you have somehow chosen appropriate values for Step and Slices. More about that later. To start, just use Step: 100 and Slices: 10.
- In the Live View panel, set focus to be the nearest point you want focused. A good way to do this is to zoom all the way out by pressing Reset, then double-click at the point you care about, press + a couple of times to zoom in, then adjust focus using the Focus Pad or the keyboard arrows.
- In the Focus Stacking Panel, press the Capture button. Then sit back and watch while ControlMyNikon and your camera shoot the stack.
- After shooting is complete, your stack of images will be found in a folder named something like STACK_timestamp within
My Documents\ControlMyNikon v2.9\Images .
Choosing Good Step Size and Number of Slices
The step size per slice depends on your lens and settings. At f/16, a step size of 100 per slice is a good value for initial testing.
Here is a good procedure for getting a better value:
- In the main panel, click the Capture button and set the Aperture you want to use.
- Press Live View at least twice, so that you hear the camera cycle. This guarantees that the aperture for the Live View you're watching corresponds to the aperture that will be used to take pictures.
- Set up a piece of paper containing fine text, slanted steeply with respect to the lens.
- Open Live View and set focus to somewhere in the middle of the text. Double-click there and zoom in far enough to see the level of detail you care about.
- Using the up/down keys, set the Focus Pad step size to 10.
- Watching the Live View display, count how many presses of the left/right keys it takes to move the band of sharp detail by a little less than its own depth. Multiply by 10, and that's your step size.
- To refine the estimate even farther, you can shoot a short stack, run it through Zerene Stacker, and check for alternating bands of sharp/fuzzy/sharp. The perfect step size is the largest value that gives no visible bands. Here are examples of spacings that are too wide (200) and certainly OK (100). Quite possibly a step size larger than 100 would still be OK, but you'll have to balance the time spent finding the best step size against the time saved in processing fewer frames.
- Once you know a good step size for one aperture, then you can calculate step sizes for other apertures because they're proportional to the f-number. For example if you can use a step size of 80 at f/8, then use step size 160 for f/16 but only step size 56 at f/5.6. In this case the step size is just 10 times the f-number. The multiplier will be different for other lenses and for different focal lengths with a zoom lens.
Now, to determine the number of slices:
- Using the up/down arrow keys, make the “Steps” value in the Focus Pad equal to the steps per slice that you determined above.
- In the Live View panel, identify the nearest and farthest points that you want to have in focus.
- Double-click on the nearest point to center the rectangle on it. Zoom in using the + button, then use the left/right arrow keys to focus on that nearest point. Zoom back out using the - button.
- Double-click on the farthest point to center the rectangle on it. Zoom in using the + button. Now, count how many clicks of the right arrow key are needed to refocus on that farthest point.
- The number of slices that you need is at least equal to the number of right arrow clicks plus one. It's generally a good idea to add a few more to allow for inaccuracies in setting the start and end positions.
Refinements
- You can specify the location for stacks to be saved, using the Path field in the main window's Capture panel.
- You can save settings as follows:
- In the ControlMyNikon main window, press the Live View button to close Live View. (If you don't do this, you won't be able to type a profile name in the next step.)
- In the ControlMyNikon main window, click the Profiles button. Click the New button and type a name for your new profile. (If nothing appears, close Live View and try again.)
- To restore previous settings: click the Profiles button, select the profile you want, then click Open.
Potential "Gotcha's"
There are a few other peculiarities of the user interface that we've tripped over and want to let you know about:
- Each of the control panels is a separate window that can be freely moved around. That also means that it's possible for them to get covered up. If you can't find a panel even when it should be visible, try moving the others.
- If you pop another application in front of ControlMyNikon, then when you pop ControlMyNikon back to the front, the Live View panel is liable to be stuck buried and still invisible. To get it visible again, you can press the Live View button on the main panel a couple of times to turn it off and back on, or you can minimize the application to the taskbar and then restore it.
- With our Nikon D5000, the button labeled Shoot (F6) actually performs an auto-focus and shoot, apparently just like AF and Shoot (F7). To shoot without autofocusing, we have to go to Scripts, select the one for shooting without autofocus, then execute that script.
